robert
Installing solar panels on your home costs an average of $31,135 for a typical 12-kilowatt system before incentives. That translates to roughly $2.60 to $4.00 per watt, depending on where you live and which equipment you choose. While that number might seem high at first glance, federal tax credits and state incentives often reduce your actual out-of-pocket cost by 30% or more.
Your actual investment will vary based on several key factors. System size matters most because larger homes with higher electricity usage need more panels. Equipment quality plays a significant role too. Premium panels with better efficiency and longer warranties cost more upfront but often deliver stronger long-term returns. Installation complexity adds to the price if your roof requires structural work, has multiple angles, or uses tile or metal roofing materials.
Location affects pricing in two ways. Labor rates and permitting fees vary considerably between states and even neighboring cities. Your area also determines which incentives you can access, from state rebates to utility company programs that buy back excess power you generate.
Understanding these cost drivers helps you budget accurately and spot quotes that seem too good to be true. This guide breaks down exactly where your money goes, what moves the price needle, and how to connect with vetted local installers who can provide personalized estimates. You’ll also learn whether the solar energy pros outweigh the costs for your specific situation and why most homeowners skip DIY installation despite the apparent savings.
Average Solar Panel Installation Costs by System Size
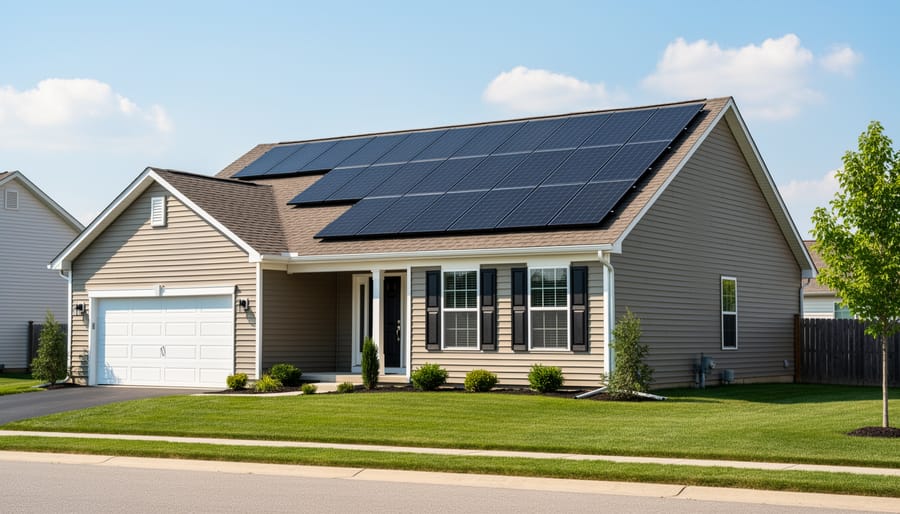
Most homeowners installing solar panels choose between 4 kW and 12 kW systems depending on their household’s electricity consumption. Understanding the cost at each system size helps you budget accurately and select the right capacity for your needs.
Here’s what you can expect to pay for common residential system sizes before applying any federal or state incentives:
| System Size | Average Total Cost | Cost Per Watt | Typical Home Application |
|---|---|---|---|
| 4 kW | $10,400 – $16,000 | $2.60 – $4.00 | Small home, low energy use |
| 5 kW | $13,000 – $20,000 | $2.60 – $4.00 | 1-2 bedroom home |
| 7 kW | $18,200 – $28,000 | $2.60 – $4.00 | Average 2-3 bedroom home |
| 10 kW | $26,000 – $40,000 | $2.60 – $4.00 | Larger 3-4 bedroom home |
| 12 kW | $31,135 (average) | $2.60 – $4.00 | Typical full home coverage |
The 12 kW system represents the typical residential installation because it generates enough electricity to cover the annual consumption of an average American home. Your actual system size depends on three factors: your current electricity bills, your home’s energy efficiency, and how much of your usage you want to offset with solar for your home.
To estimate the right system size, review your past 12 months of electric bills and calculate your average monthly kilowatt-hour (kWh) usage. Multiply that monthly average by 12 to get your annual consumption. Most installers design systems to produce 100% to 110% of your annual usage, accounting for some energy loss and future consumption growth.
A household using 1,000 kWh per month, for instance, needs roughly an 8-9 kW system in most regions. Homes with electric vehicle charging, pools, or inefficient HVAC systems typically require larger systems at the 10-12 kW range. Conversely, energy-efficient homes with lower consumption may only need 4-6 kW of capacity.
Keep in mind these costs reflect the full installation price before incentives reduce your out-of-pocket expense. The federal solar tax credit and state-level programs can lower these figures substantially, which we’ll cover in detail later.
Understanding Cost Per Watt
When shopping for solar panels, you’ll quickly encounter the industry’s universal pricing metric: dollars per watt. This standardized measure allows homeowners to compare quotes from different installers on an apples-to-apples basis, regardless of system size or configuration. Understanding how per-watt pricing works helps you evaluate whether you’re getting a competitive deal.
The cost per installed watt reflects the total system price divided by its capacity in watts. If an installer quotes $26,000 for a 10,000-watt (10 kW) system, you’re looking at $2.60 per watt. Current residential solar installations typically range from $2.60 to $4.00 per watt before incentives, with most homeowners paying somewhere in the middle of that spectrum.
Several factors explain why this range exists. Geographic location plays a major role, labor costs, permitting complexity, and local competition vary significantly between markets. Equipment selection matters too. A premium system with high-efficiency panels and advanced inverters will land at the higher end, while standard-grade components with solid warranties typically hit the lower range.
Here’s what per-watt pricing includes: the solar panels themselves, inverters, mounting equipment, electrical components, installation labor, system design, permit fees, and inspection costs. It’s a turnkey figure that covers everything needed to get your system up and running. What it doesn’t include are optional add-ons like battery storage, monitoring upgrades, or any roof repairs required before installation begins.
When comparing quotes, pay attention to both the per-watt cost and what’s specifically included. A quote that seems expensive might include features another installer prices separately.
What’s Included in Your Installation Cost
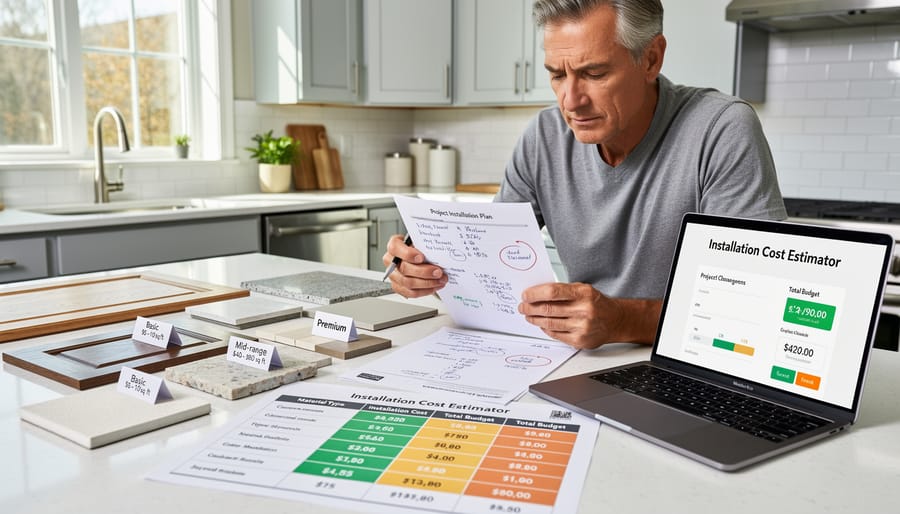
When you invest in solar panel installation, you’re paying for more than just the panels on your roof. Understanding where your dollars go helps you evaluate quotes and appreciate the complexity of a professionally installed system that will generate electricity for decades.
Your installation cost covers several major components that work together as an integrated energy system:
- Solar panels, The photovoltaic modules that convert sunlight into electricity, typically representing 25-30% of total system cost
- Inverters, Equipment that converts the DC power from panels into usable AC electricity for your home, accounting for 10-15% of cost
- Mounting hardware and racking, Structural components that securely attach panels to your roof and withstand weather conditions
- Electrical components, Wiring, conduit, disconnect switches, junction boxes, and connection to your home’s electrical panel
- Labor and installation, Skilled technician time for system design, roof work, electrical connections, and commissioning
- Permits and inspections, Building permits, electrical permits, utility interconnection applications, and required inspections
- System design and engineering, Site assessment, electrical load calculations, and customized system layout for your specific property
Labor typically represents the largest single expense, accounting for 30-40% of your total cost. This covers the experienced installers who handle roof penetrations correctly, ensure structural integrity, complete electrical work to code, and configure your system for optimal performance.
Permitting and inspection fees vary significantly by location, ranging from a few hundred dollars to over $1,000 depending on your local requirements. Your installer handles this administrative burden and ensures compliance with all building codes and utility interconnection standards.
Equipment warranties and performance guarantees are built into your cost as well. Quality solar panels come with 25-year production warranties, while inverters typically carry 10-15 year coverage. Before committing to any system, research the pros and cons of solar energy for your specific situation to ensure this investment aligns with your goals.
Factors That Change Your Solar Installation Price
Location and Local Market Conditions
Your location plays a major role in your final solar installation bill. The same 12 kW system that averages $31,135 nationally can cost $25,000 in one state and $40,000 in another. Geography affects nearly every component of your project cost.
Labor costs drive much of the regional variation. Installing solar panels in California, Massachusetts, or New York typically costs more than the same work in Arizona or Florida, reflecting differences in wage rates, cost of living, and installer demand. Metropolitan areas usually command higher prices than rural regions, even within the same state.
Permitting requirements and inspection fees vary dramatically by jurisdiction. Some cities charge a few hundred dollars and process applications quickly. Others impose complex requirements, multiple inspections, and fees exceeding $1,500. These administrative costs get passed directly to you, and they’re non-negotiable, your installer must comply with local codes regardless of complexity.
State and local incentive programs can flip the cost equation. Beyond the federal tax credit, some states offer additional rebates, performance payments, or property tax exemptions that substantially reduce your net investment. Others provide minimal support. A state with generous incentives may deliver lower out-of-pocket costs despite higher base installation prices.
Utility company policies matter too. Net metering programs, interconnection fees, and time-of-use rate structures affect both installation requirements and long-term savings calculations. Some utilities make grid connection straightforward and inexpensive; others add bureaucratic hurdles and upgrade charges.
When comparing quotes, always account for your specific location’s complete picture, not just the sticker price, but permitting ease, available incentives, and utility cooperation.
Roof Characteristics and Complexity
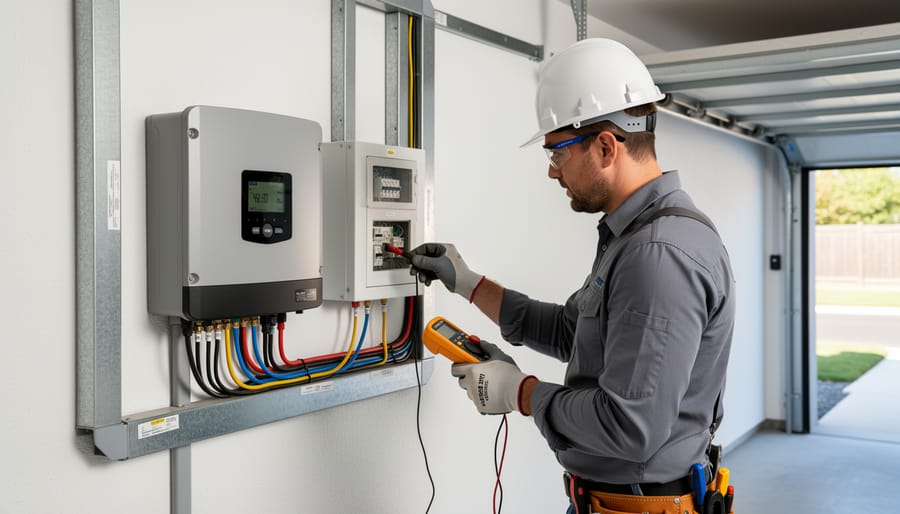
Your roof’s physical characteristics play a major role in determining your final installation cost. A straightforward installation on a newer roof with ideal conditions might stay at the lower end of the pricing spectrum, while challenging roof features can add thousands to your project total.
Roof pitch affects both labor time and safety requirements. Steep roofs demand additional safety equipment, specialized mounting hardware, and slower installation work, which increases labor costs. Installers typically charge premium rates for pitches above 8:12 because of the difficulty and risk involved. Conversely, flat or low-slope roofs may need ballasted mounting systems or tilt racks to achieve optimal panel angles, adding equipment costs.
The roofing material itself matters too. Asphalt shingle roofs represent the easiest and most cost-effective scenario since installers can work with standard mounting equipment. Tile, slate, metal, and wood shake roofs require specialized flashing, careful tile removal and replacement, or custom mounting solutions that drive up both material and labor expenses. Some premium roofing materials are fragile and demand extra care, extending installation time.
Roof condition directly impacts project scope. If your roof needs repair or replacement before solar installation, you’re looking at additional costs that should be addressed first. Installers won’t mount a 25-year system on a roof that’ll need replacement in five years. Structural reinforcement may be necessary for older homes or roofs that can’t support the added weight of panels and mounting equipment.
Shading from trees, chimneys, or neighboring structures reduces usable roof space, potentially requiring more panels on multiple roof planes to hit your energy target. Multiple planes mean more mounting rails, additional electrical connections, and longer installation time. Each plane transition adds complexity and cost to the project.
Equipment Quality and Brand Selection
Equipment choice creates one of the widest price spreads in solar installations. Entry-level panels from lesser-known manufacturers start around $0.50 to $0.70 per watt for the equipment alone, while premium brands like SunPower or LG (before their market exit) command $1.00 to $1.50 per watt. Mid-tier options from manufacturers like Canadian Solar or Trina typically fall between $0.70 and $1.00 per watt. These equipment costs compound across your entire system size, so panel selection on a 12 kW installation creates a $6,000 to $12,000 price difference before you add labor and other components.
The performance gap justifies some of this premium. Budget panels typically convert 15 to 17 percent of sunlight into electricity, mid-tier models reach 18 to 20 percent, and top-tier panels achieve 21 to 23 percent efficiency. Higher efficiency means you need fewer panels to generate the same power, which matters if your roof space is limited. More importantly, premium panels often degrade more slowly over their 25-year lifespan and come with better warranties covering both equipment defects and power output guarantees.
Inverter selection follows a similar pattern. String inverters represent the budget option at $1,000 to $2,500 for a residential system, while microinverters or power optimizers add $3,000 to $6,000 to your total cost. The premium buys panel-level monitoring, better performance in partial shade, and often longer warranties.
Most homeowners find the best value in mid-tier equipment that balances reasonable upfront cost against solid 25-year performance rather than chasing the absolute lowest price or the highest efficiency ratings.
System Features and Add-Ons
Battery storage represents the most significant add-on, adding $10,000 to $15,000 for a typical home backup system. Energy storage makes sense if you experience frequent outages, want to maximize self-consumption of solar energy, or live where time-of-use electricity rates create large evening price spikes. Without storage, your solar system shuts down during grid outages for safety reasons.
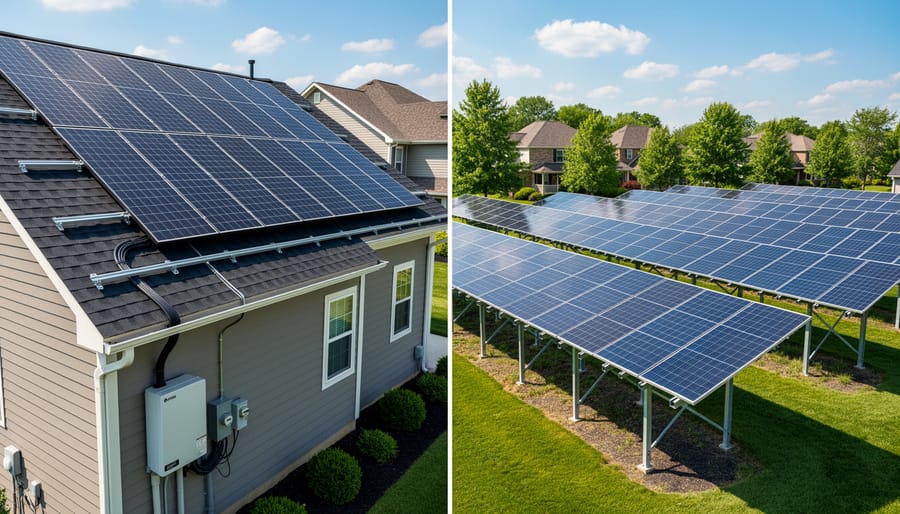
Ground-mounted systems cost 10 to 20 percent more than roof installations due to additional equipment, foundation work, and trenching requirements. They’re worth considering if your roof faces the wrong direction, receives heavy shading, or needs replacement soon. Ground mounts also simplify future panel cleaning and maintenance access.
Monitoring systems that track real-time production and consumption typically add $300 to $800, though many installers include basic monitoring at no extra charge. Advanced monitoring helps identify performance issues quickly and optimizes energy usage patterns.
Specialized equipment like critter guards ($200 to $500), panel-level optimizers for shaded locations ($1,000 to $2,500), or upgraded electrical panels ($1,500 to $3,000) addresses specific site challenges. These features solve real problems rather than just adding cost, so evaluate them based on your home’s actual conditions and your energy goals.
Federal and State Incentives That Lower Your Out-of-Pocket Cost
The federal solar Investment Tax Credit (ITC) dramatically reduces your actual installation cost. This credit lets you claim 30% of your total system cost as a direct reduction on your federal income taxes. For a $31,135 system, that’s $9,341 back, dropping your net cost to $21,794. The 30% rate applies to systems installed through 2032, then steps down to 26% in 2033 and 22% in 2034. You claim the credit when you file taxes for the year your system goes operational, and you can carry forward any unused credit if it exceeds what you owe.
State and local incentives stack on top of the federal credit. Many states offer additional tax credits, rebates, or performance payments that further cut your out-of-pocket expense. Some utility companies provide upfront rebates that reduce your initial payment, while others pay for the energy your system produces through net metering or solar renewable energy credit programs. A few states exempt solar equipment from sales tax or property tax increases, saving thousands over your system’s lifetime.
These state and local programs vary widely and change frequently. What’s available in California differs completely from incentives in Texas or Florida. Some programs have limited funding and close once caps are reached. Others have income requirements or restrict eligibility to certain utilities or counties. The combinations can be complex, a homeowner in one part of a state might qualify for three different incentives while someone 50 miles away qualifies for none.
Connect with local solar installers who know your area’s current incentive landscape. They track which programs are active, how to apply, what documentation you need, and how incentives layer together. They can calculate your actual net cost after all available federal, state, utility, and local incentives apply. Getting quotes from providers in your service area gives you accurate numbers for your specific situation, not generic estimates.
DIY Installation vs. Professional Installation
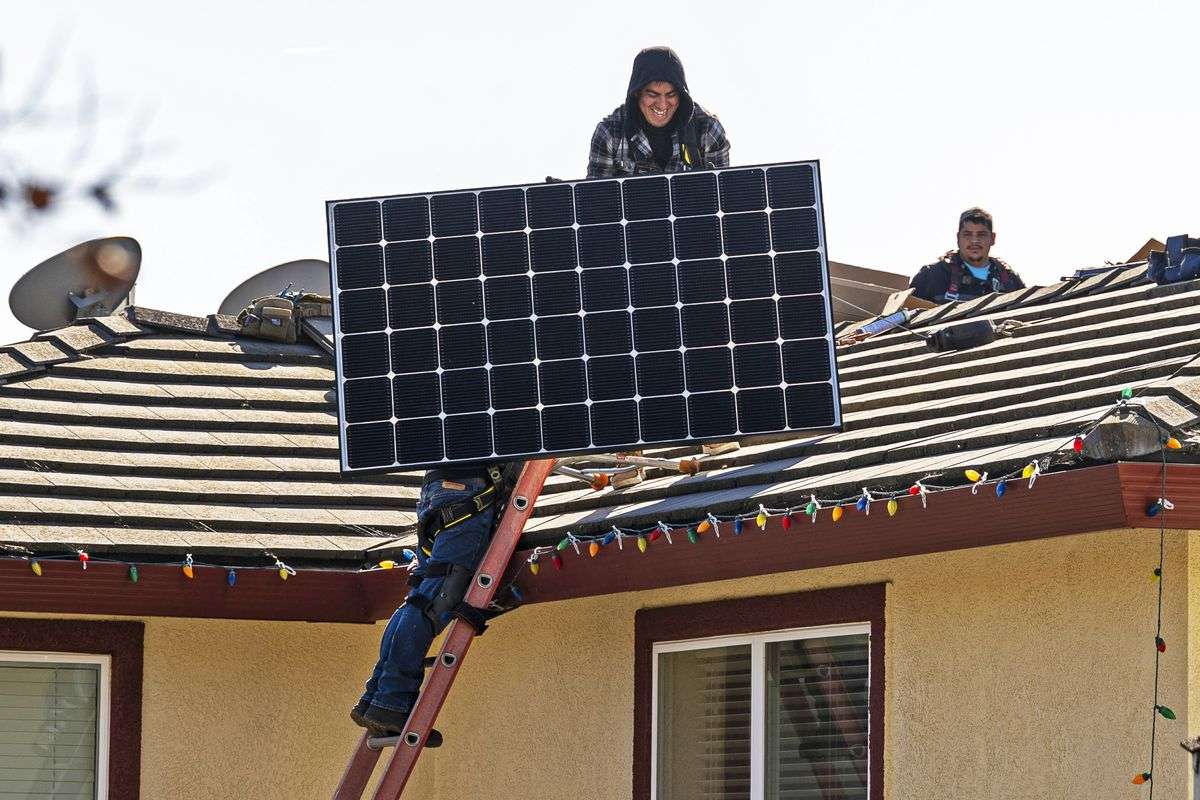
The appeal of DIY solar installation is obvious: you could cut your costs nearly in half by purchasing equipment alone and skipping professional labor. A typical 12 kW system that costs $31,135 installed might drop to $15,000 to $18,000 in equipment-only expenses. That savings disappears quickly, though, when you factor in what you lose and the challenges you face.
Solar installation requires electrical expertise, roof work at height, precise system design for optimal production, and coordination with your utility company. You’ll navigate permitting yourself, which varies by jurisdiction and often requires stamped engineering drawings. Most building departments inspect solar installations, and inspectors expect work that meets National Electrical Code standards. One failed inspection means rework and delays.
Pros
- Equipment-only costs can reduce upfront expenses by 40% to 50%.
- You maintain complete control over component selection and installation timeline.
- Hands-on experience provides deep understanding of your solar system.
Cons
- Federal tax credit may be unavailable or reduced without professional certification.
- Manufacturer warranties often require professional installation to remain valid.
- Permitting, utility interconnection, and code compliance become your responsibility.
- Safety risks include working on roofs and handling high-voltage electrical connections.
- System design errors can reduce energy production by 20% or more.
The federal Investment Tax Credit, which significantly reduces net cost, requires documentation that professional installers provide routinely. DIY installations face additional scrutiny from the IRS, and some homeowners lose part or all of the credit due to incomplete paperwork. Equipment warranties from major manufacturers typically specify professional installation as a requirement. Go DIY, and you might void coverage on panels designed to last 25 years.
Insurance adds another complication. Your homeowner’s policy may not cover DIY solar work, and liability during installation falls entirely on you. Professional installers carry general liability and workers’ compensation insurance that protects you if something goes wrong.
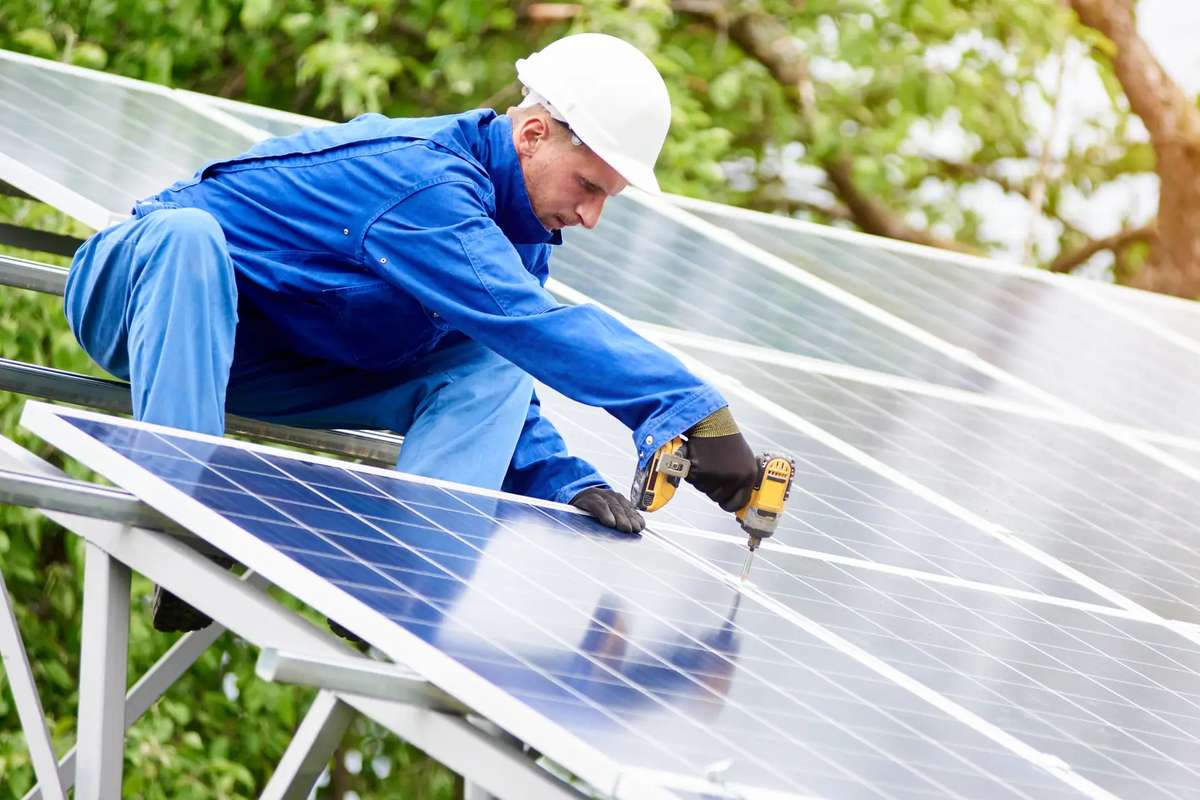
Professional installation delivers value beyond labor. Installers design systems using software that accounts for roof orientation, shading patterns throughout the year, and local weather data. They secure permits, handle utility interconnection paperwork, and ensure your system passes inspection on the first attempt. Most importantly, they guarantee their work. If your system underperforms or develops issues, you have recourse.
For the vast majority of homeowners, professional installation justifies its cost through proper system design, retained warranties, secured incentives, and eliminated risk. The labor portion of your installation cost buys expertise that maximizes your system’s 25-year production and protects your investment from day one.
How to Get Accurate Quotes for Your Home
Getting accurate solar installation quotes requires a strategic approach that goes beyond simply requesting price estimates. The quality and detail of the quotes you receive directly affect your ability to make an informed decision about whether is solar worth it for your specific situation.
- Gather your electricity usage data from the past 12 months of utility bills, noting your average monthly consumption in kilowatt-hours and your current electricity rate.
- Take clear photos of your roof from multiple angles, including any obstructions like chimneys or vents, and note your roof’s age, material, and approximate square footage.
- Request quotes from at least three vetted local installers who can assess your property in person rather than providing generic estimates.
- Provide each installer with the same information about your goals, budget constraints, and any specific equipment preferences to ensure comparable proposals.
- Review each detailed proposal for system size, equipment specifications, warranty terms, estimated production, total cost, available incentives, and projected payback period.
A complete proposal should itemize all costs, specify exact equipment models and manufacturers, outline the installation timeline, and detail warranty coverage for panels, inverters, and workmanship. Be wary of quotes that seem significantly lower than others without clear explanation, vague equipment descriptions, pressure to sign immediately, or installers who skip the site assessment.
Compare quotes by examining the cost per watt alongside the equipment quality and warranty terms, not just the total price. A slightly higher upfront cost often delivers better long-term value through superior panel efficiency, longer warranties, and more reliable inverters. Ask each installer how they calculated your system size, what production estimates they’re using, and whether they’ve accounted for your roof’s specific characteristics.
Connect with local service providers who understand your area’s permitting requirements, utility interconnection processes, and available state and local incentives. Regional expertise makes a substantial difference in both the accuracy of quotes and the smoothness of installation.
Frequently Asked Questions
Homeowners considering solar energy typically have similar questions about costs and the installation process. Here are answers to the most common concerns about solar panel installation pricing.
What payment options are available for solar installation?
Most homeowners choose between cash purchase, solar loans, or power purchase agreements. Cash provides the best long-term value, while loans spread costs over time with monthly payments, and you still benefit from federal tax credits either way.
How long does solar panel installation take?
Physical installation typically takes one to three days for a residential system. However, the entire process from contract signing to system activation usually spans two to four months due to permitting, inspections, and utility interconnection approvals.
Are solar installation costs still dropping?
Solar costs have decreased dramatically over the past decade, but price reductions have slowed significantly. Current pricing around $2.60 to $4.00 per watt represents a mature market where costs have largely stabilized.
Is solar panel installation worth the investment?
For most homeowners, yes. With the federal tax credit reducing a $31,135 system by 30 percent and typical systems paying for themselves in 6 to 12 years while lasting 25-plus years, the long-term solar benefits outweigh upfront costs.
How do I find reliable solar installers?
Start by collecting quotes from at least three licensed, insured installers with strong local reputations. Check online reviews, verify credentials, ask for references from recent customers, and ensure they provide detailed written proposals that itemize all costs and equipment specifications.
Can I negotiate solar installation prices?
Yes, pricing is often negotiable, especially when you have multiple competitive quotes. Installers may adjust pricing, offer equipment upgrades, or include additional services to win your business, but ensure any changes are documented in writing.
Your specific circumstances will influence both cost and value. The size of your electricity bills, available roof space, local utility rates, and incentive programs all factor into whether solar makes financial sense for your household. Getting personalized quotes from local professionals gives you accurate numbers to evaluate your investment potential.
A typical 12 kW residential solar panel installation averages $31,135 before incentives, but your actual investment will depend on your specific circumstances. System size, roof characteristics, equipment choices, and local market conditions all shape your final price. Location matters significantly, the same system can cost thousands more or less depending on where you live and what regional incentives are available.
Federal and state incentives substantially reduce your out-of-pocket cost. The federal solar tax credit alone cuts your investment by 30%, and many states and utilities offer additional rebates or performance incentives. These programs can reduce a $31,000 system to under $22,000 in net cost, dramatically improving your payback timeline and return on investment.
The only way to know what solar will cost for your home is to get personalized quotes from experienced local installers. They’ll assess your roof, analyze your energy usage, and provide accurate pricing that reflects your specific situation and available incentives. Connect with vetted service providers in your area to understand your true investment and calculate your potential long-term savings. Solar represents a significant upfront cost, but for most homeowners, the combination of energy savings and incentives makes it a sound financial decision.